

Upcycling a laptop screen

When a laptop breaks down and buying a new one seems a more economical option, what do we do with the parts of the old one? We upcycle ! Just like an organ donation, different parts of this old laptop can be used for various applications. This blogpost is about converting the LCD screen as a monitor.
There are umpteen videos available to open a laptop and one for my Dell Inspiron 5110 was easy to find. Apart from the screen, you can remove Hard-disk from these old laptop and use it like a portable external hard-drive by adding a readily available case to it.
Once the LCD screen is out, the next steps are quite crucial. The sticker at the back of screen indicates the model number which is the identifier for the type of LCD driver that need to be bought. There are 40-pin and 50-pin drivers available and the exact one required can be looked up at https://www.panelook.com/ by adding the panel model number.
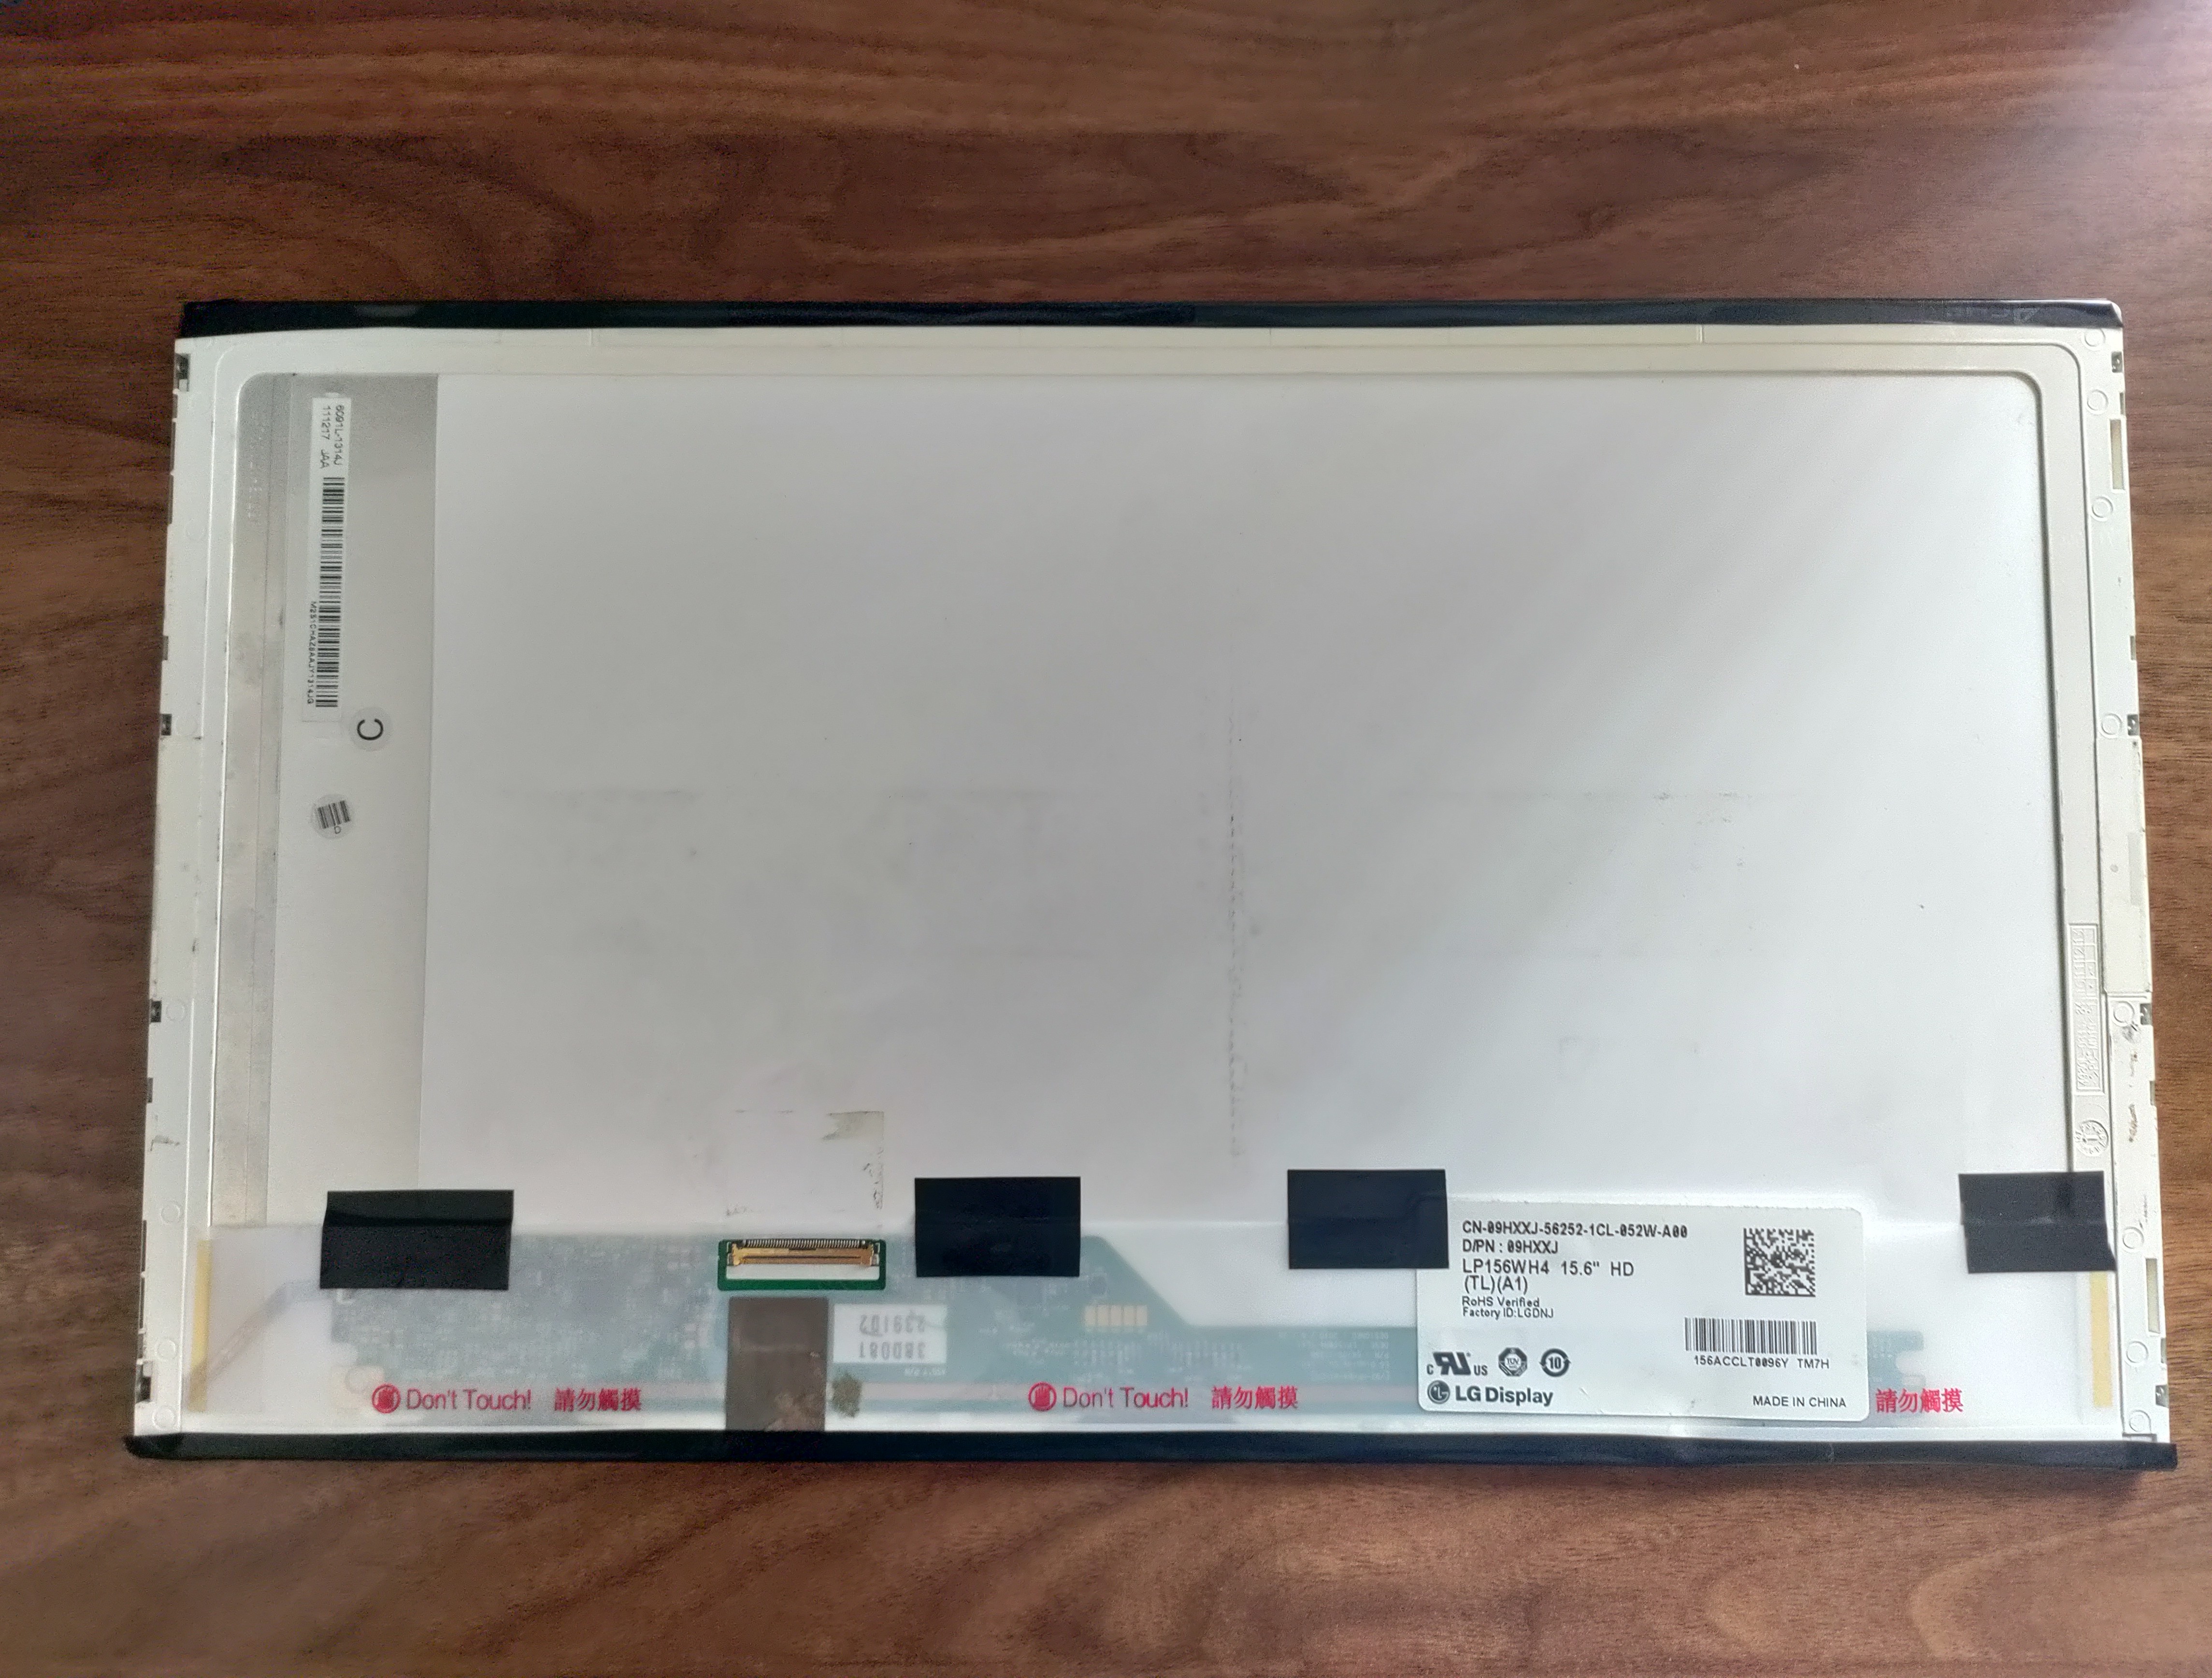
Mine was LP156WH4 (TL)(A1) model. Its 1366x768 resolution model supporting 40 pin LCD driver and screen size was 15.6" (old laptops were bulky!!). Driver for this and 12V 3A adapter were easily available in amazon.
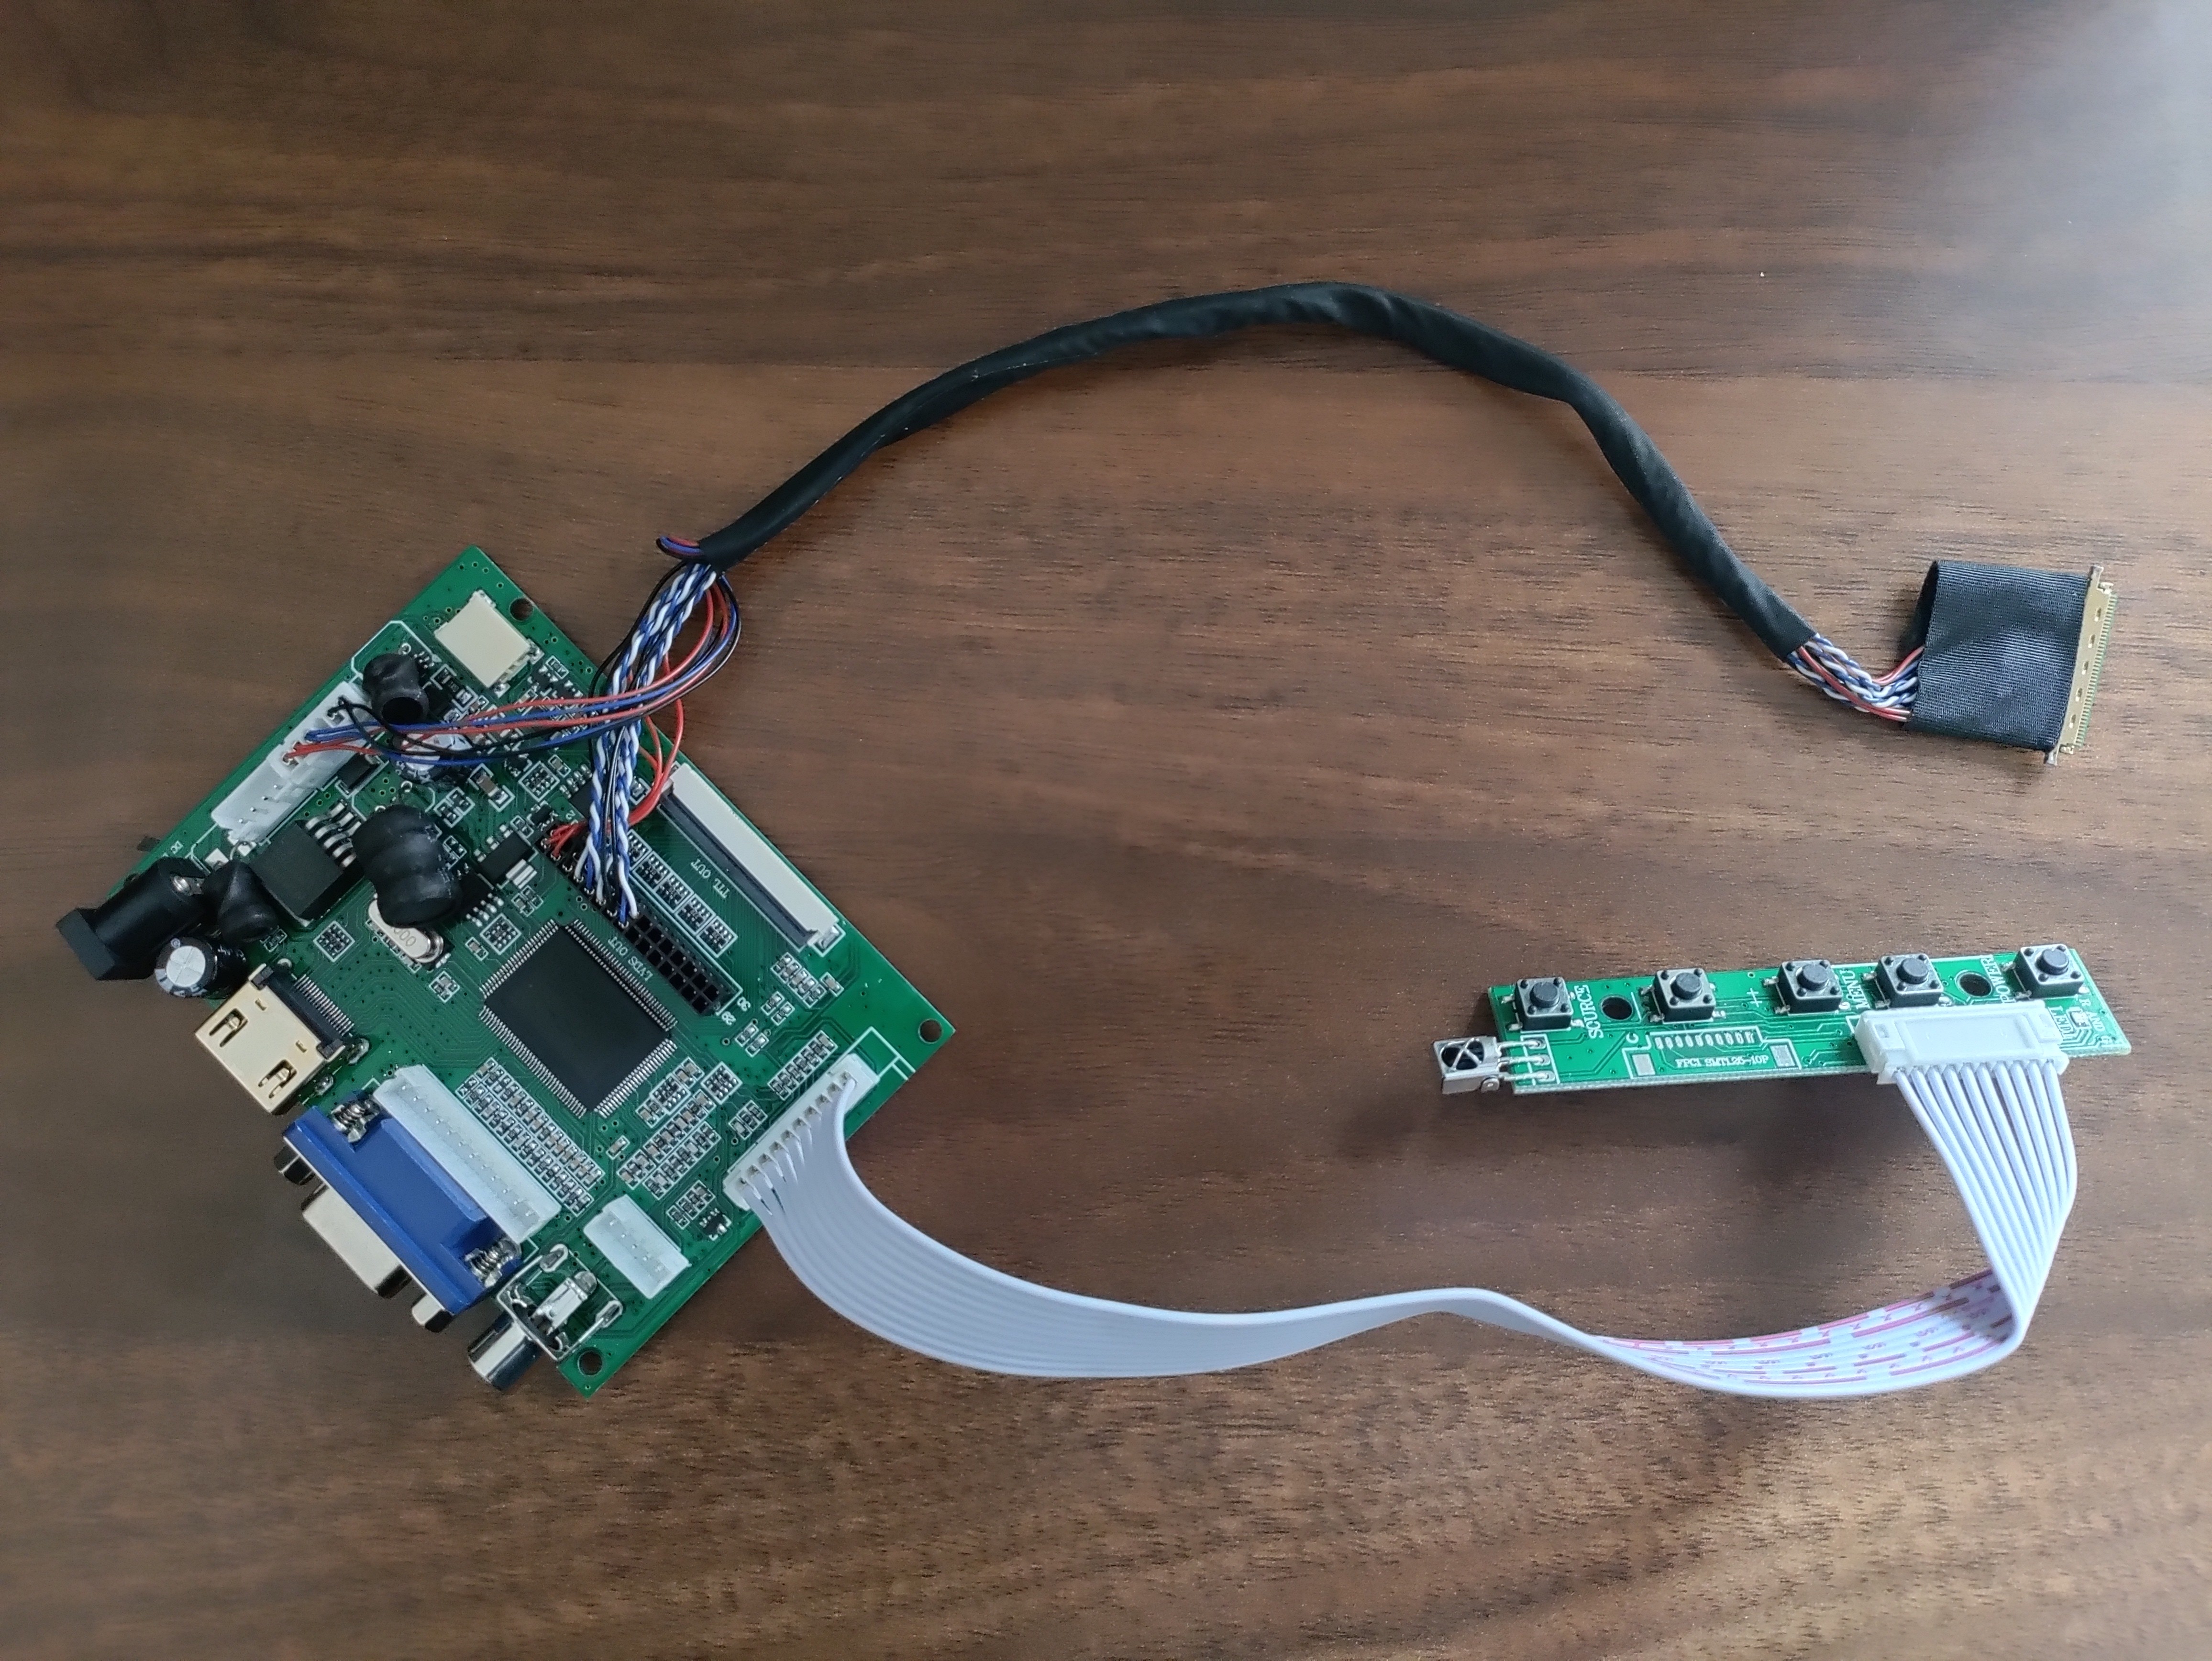
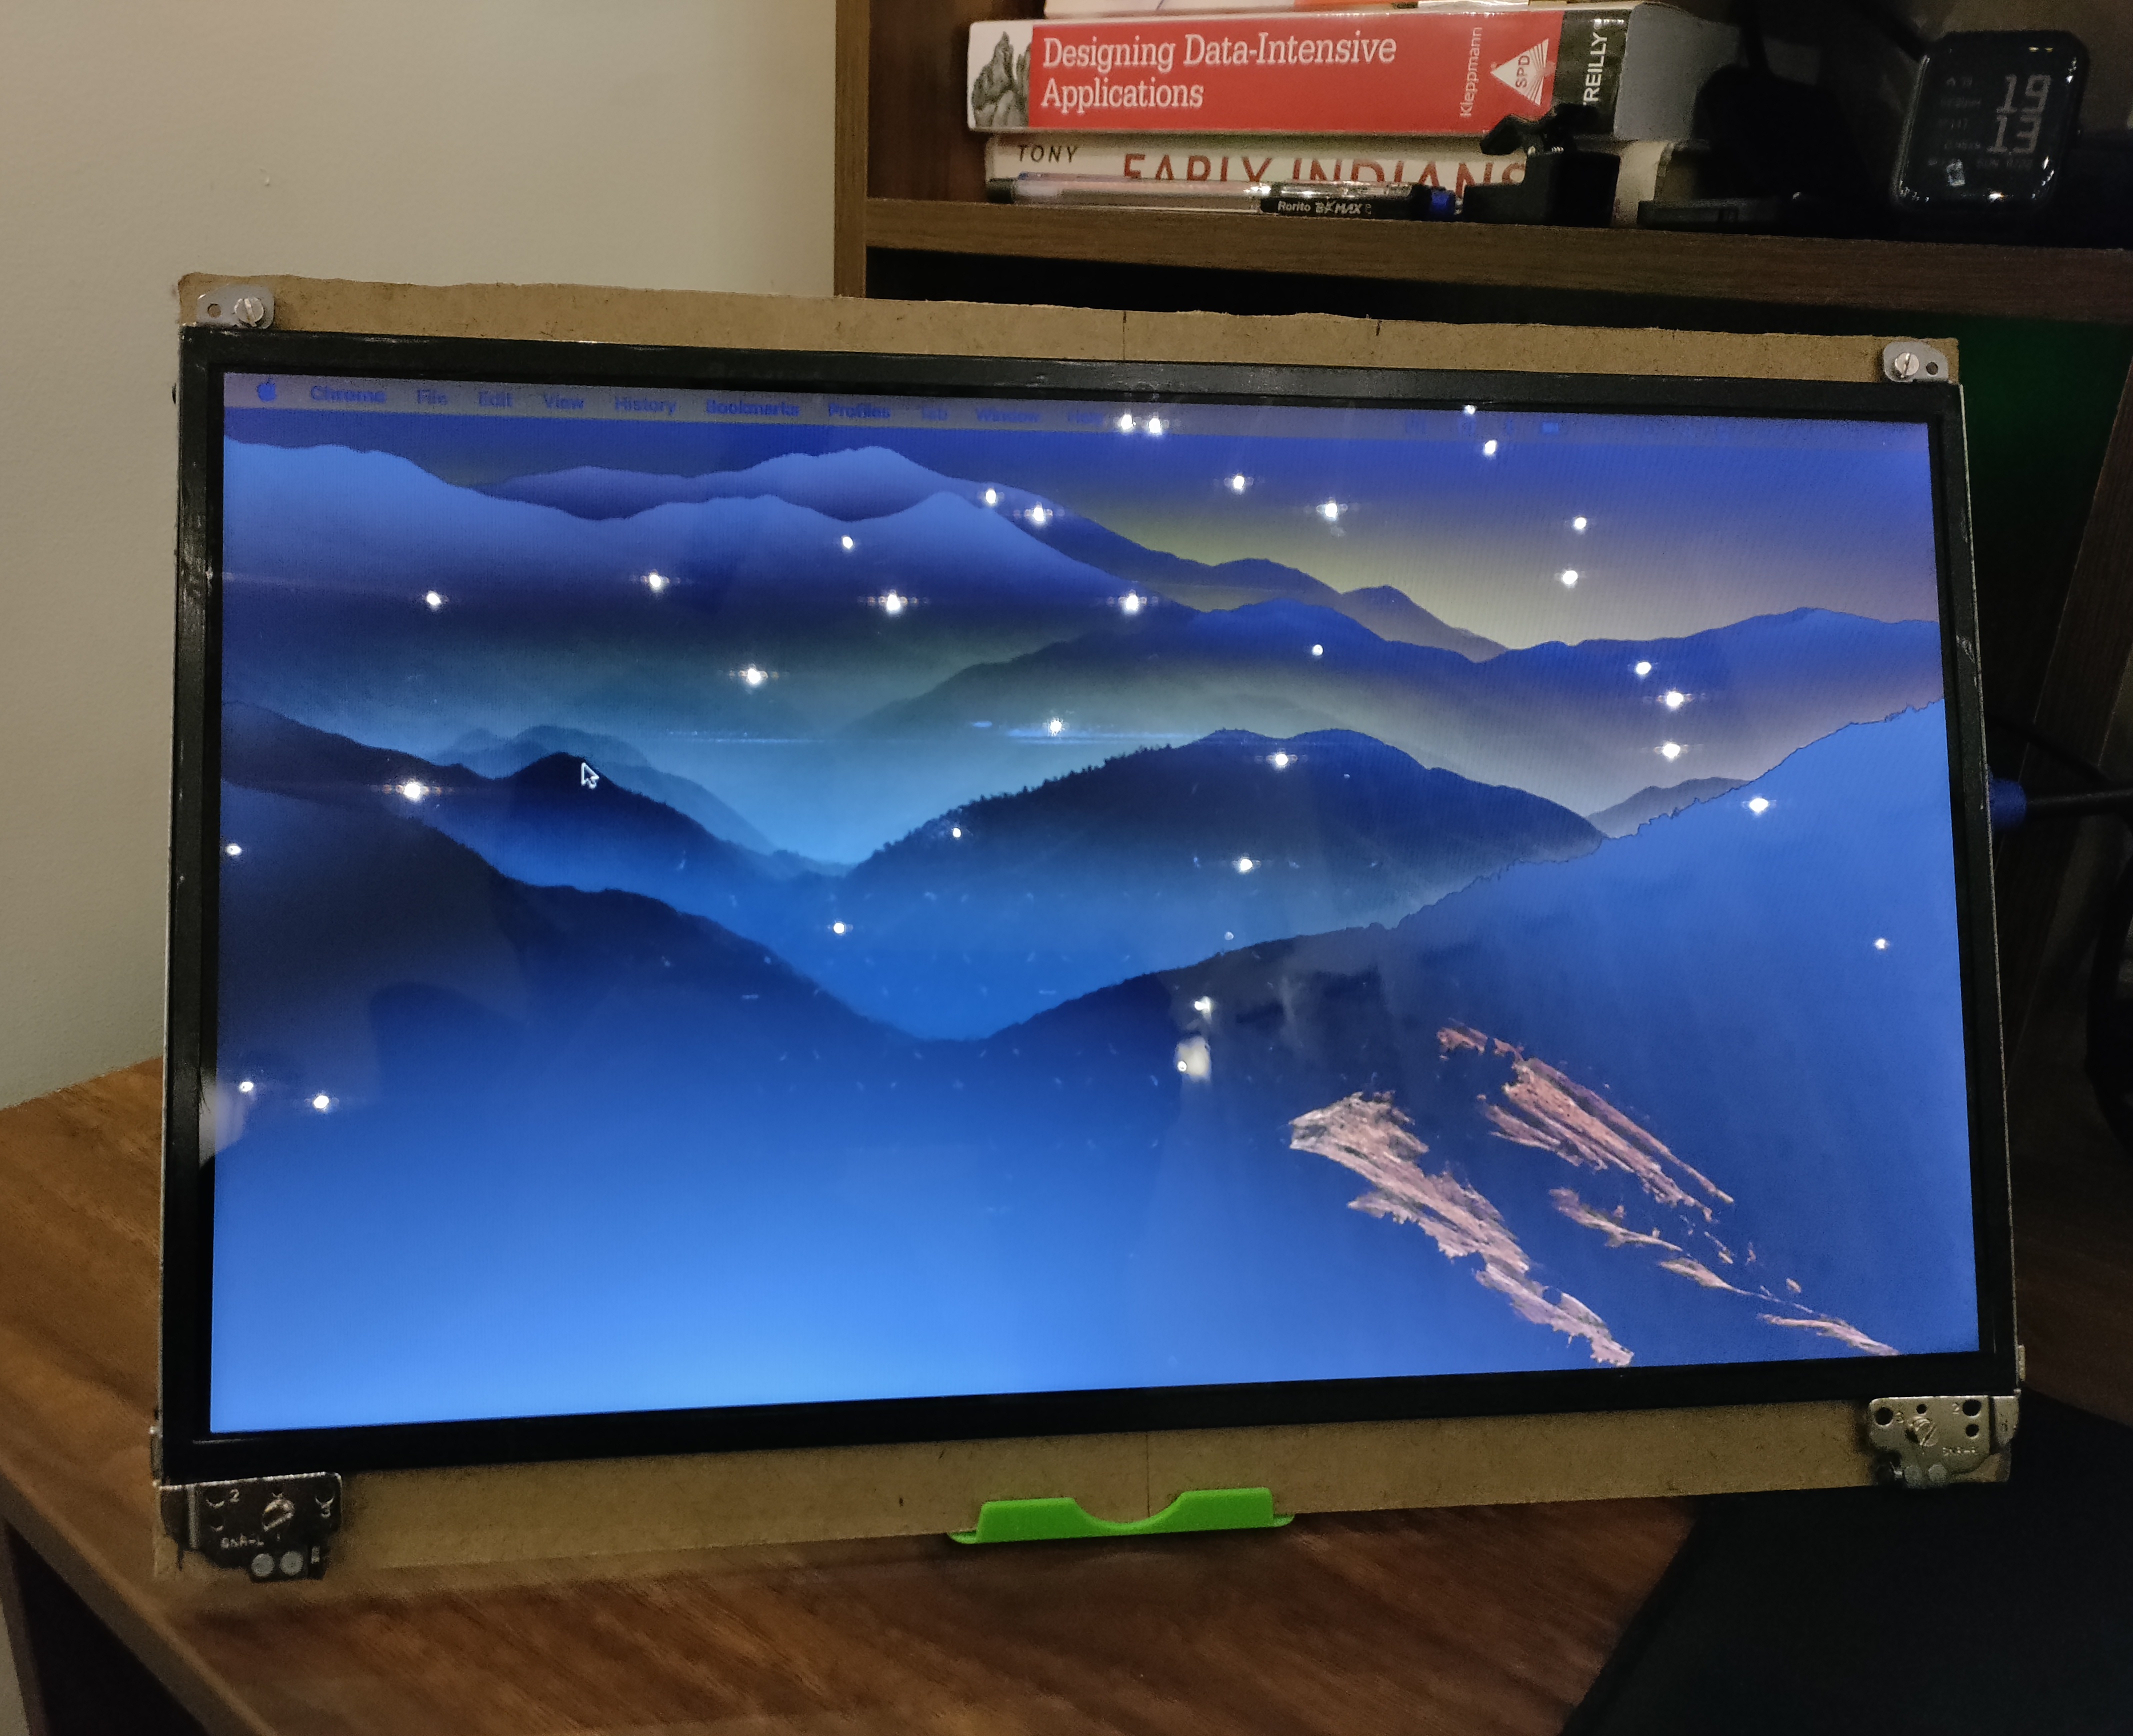
Now all we need to do is hook them up carefully (the 40 pin connector is quite delicate). The first test seemed fine when I powered it up. However, I had to configure the resolution for secondary screen from laptop to 1366x768 since the letters with default resolution was quite small and pain to eyes. Rest of the settings such as brightness, saturation etc can be controlled either by a menu panel that is wired with the board or a cute tiny IR remote that is shipped with the board.
Some interesting facts about the board itself, it is one power packed module. It has ability to connect HDMI, VGA or AV inputs. There are even breakout pins available to supply VGA or AV signal (now that gives me ideas for next hack). The pinouts with 12V can be used to power any other devices that uses 12V DC or less (and more ideas!! ).
Things are pretty much functional at this stage, but I like less clutter on my desk. So I planned steps for assembling these on to a board that can later be mounted using a VESA mount.
Used a cardboard bought from a photo-frame shop purchased at 60rs for a 2 * 3 ft piece as the assembling area. The screen holders from the the same old laptop were used to fasten the screen to the board.
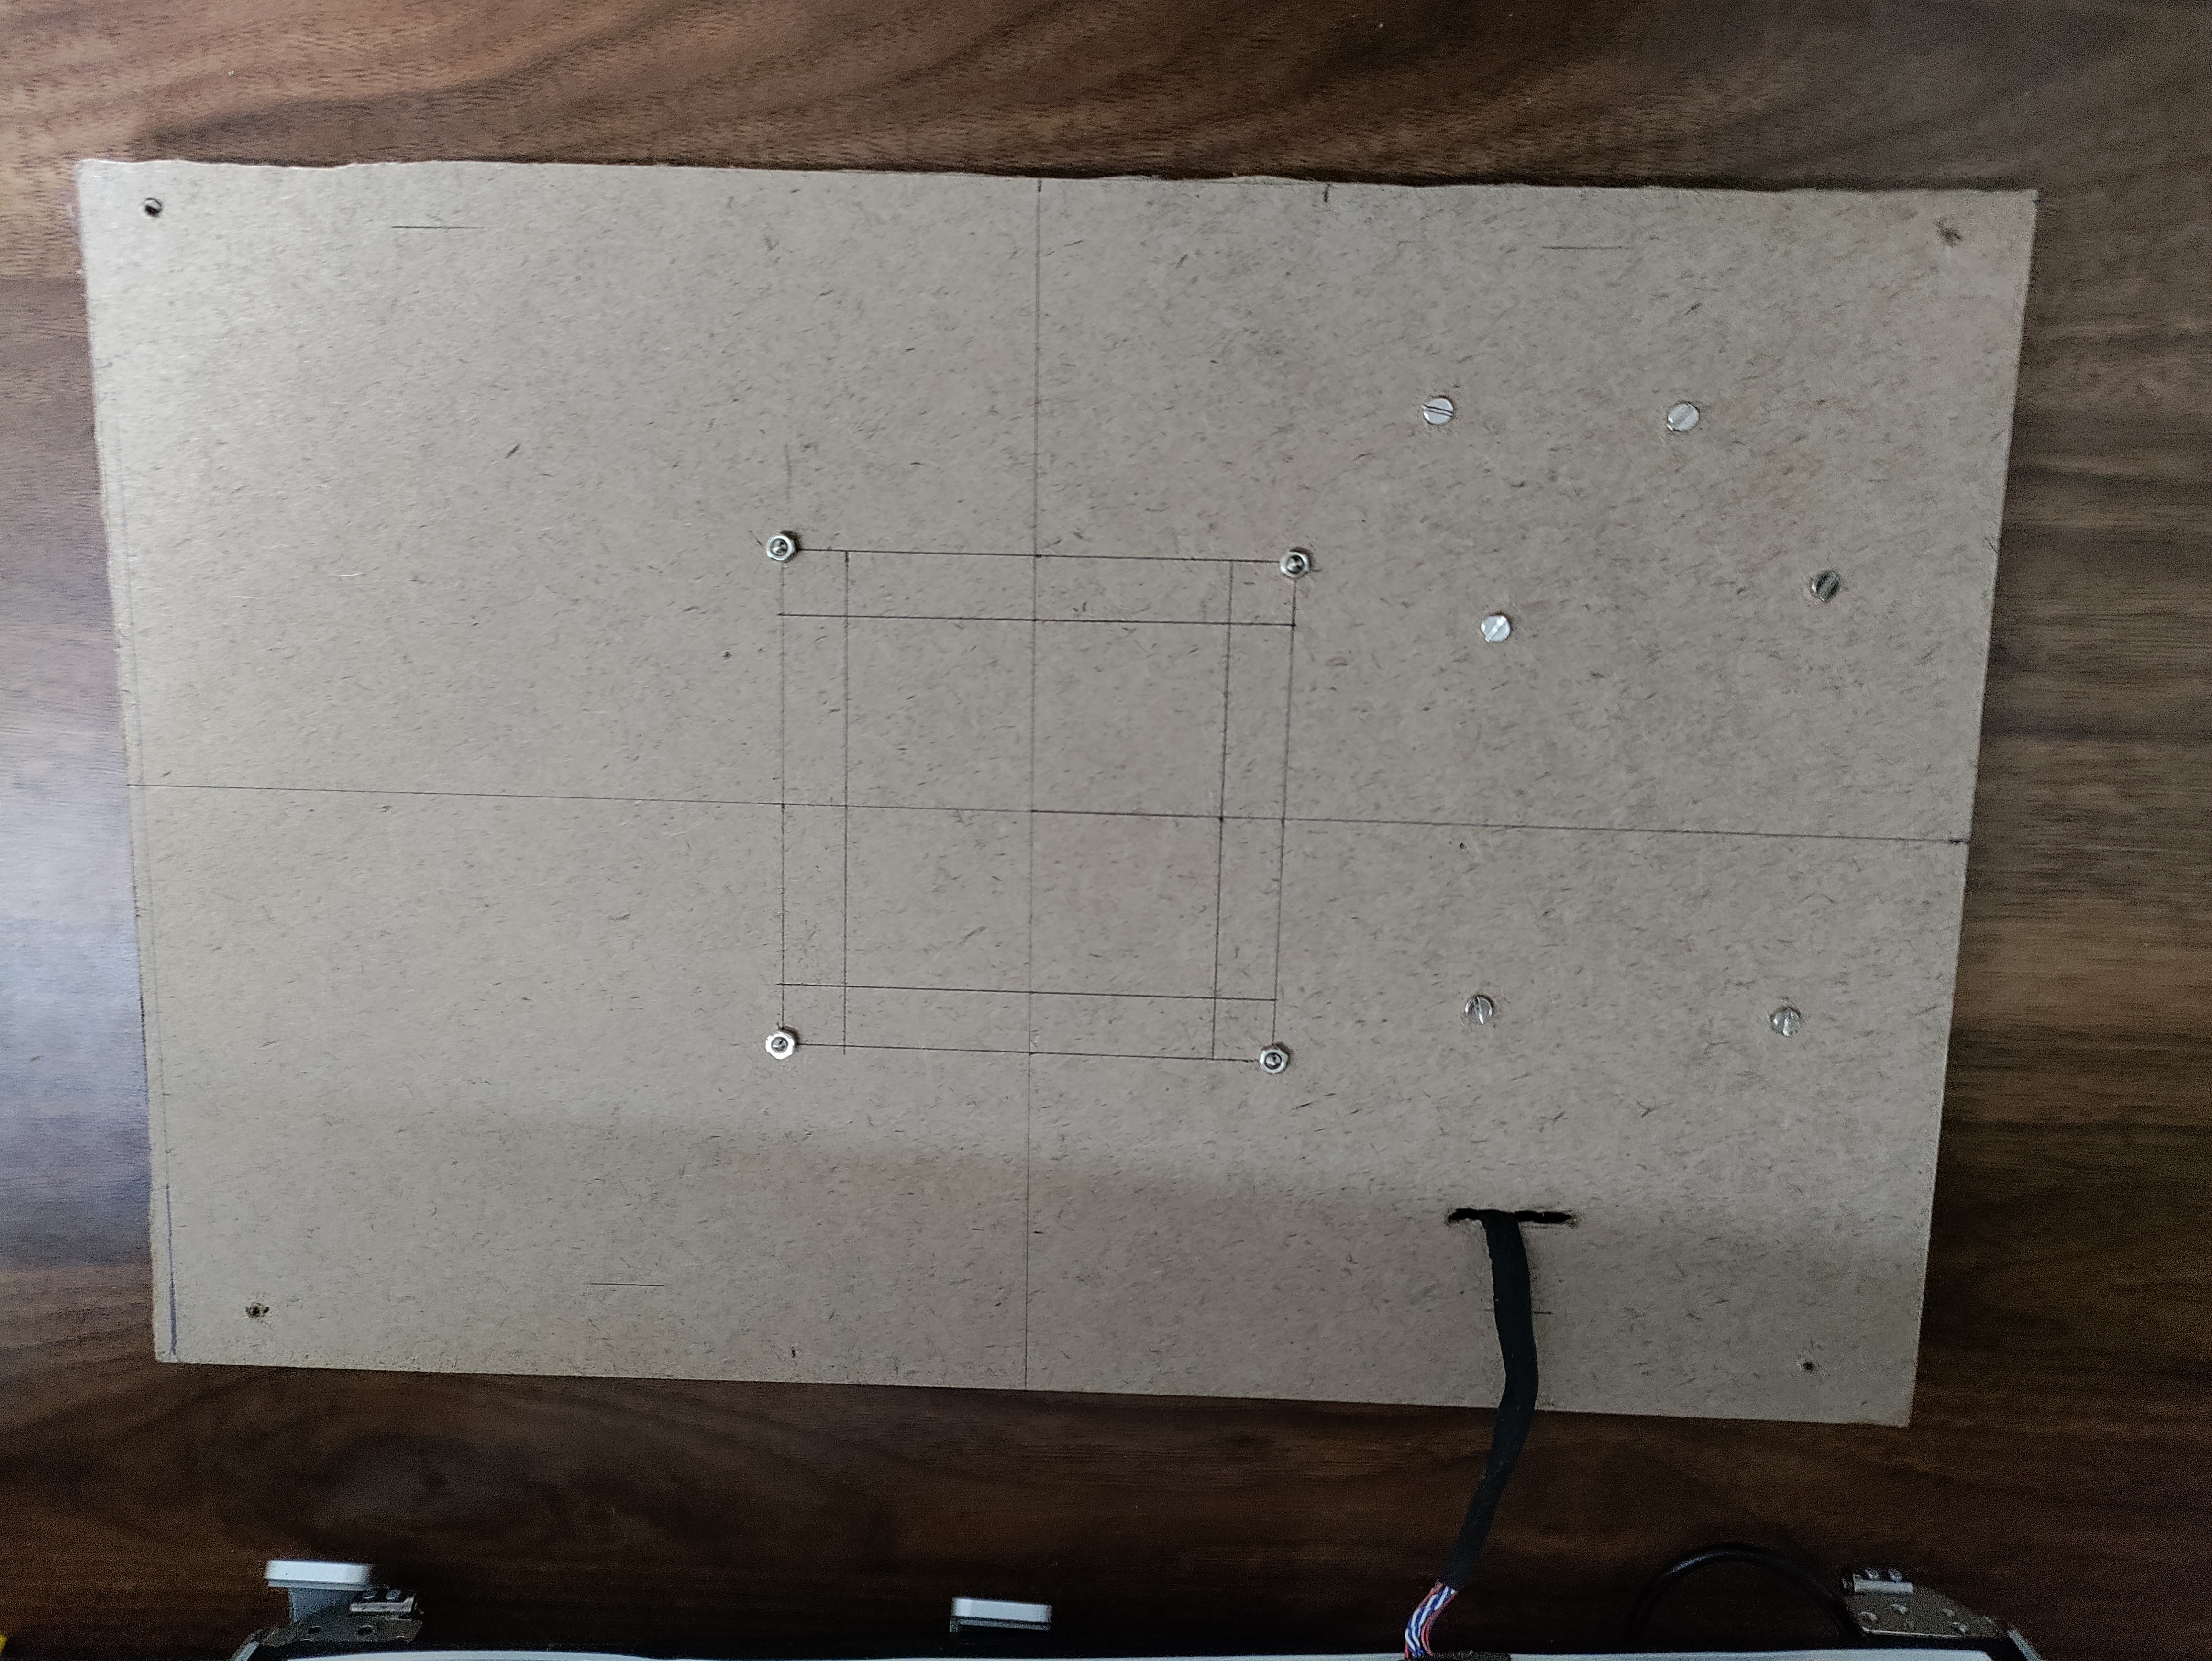
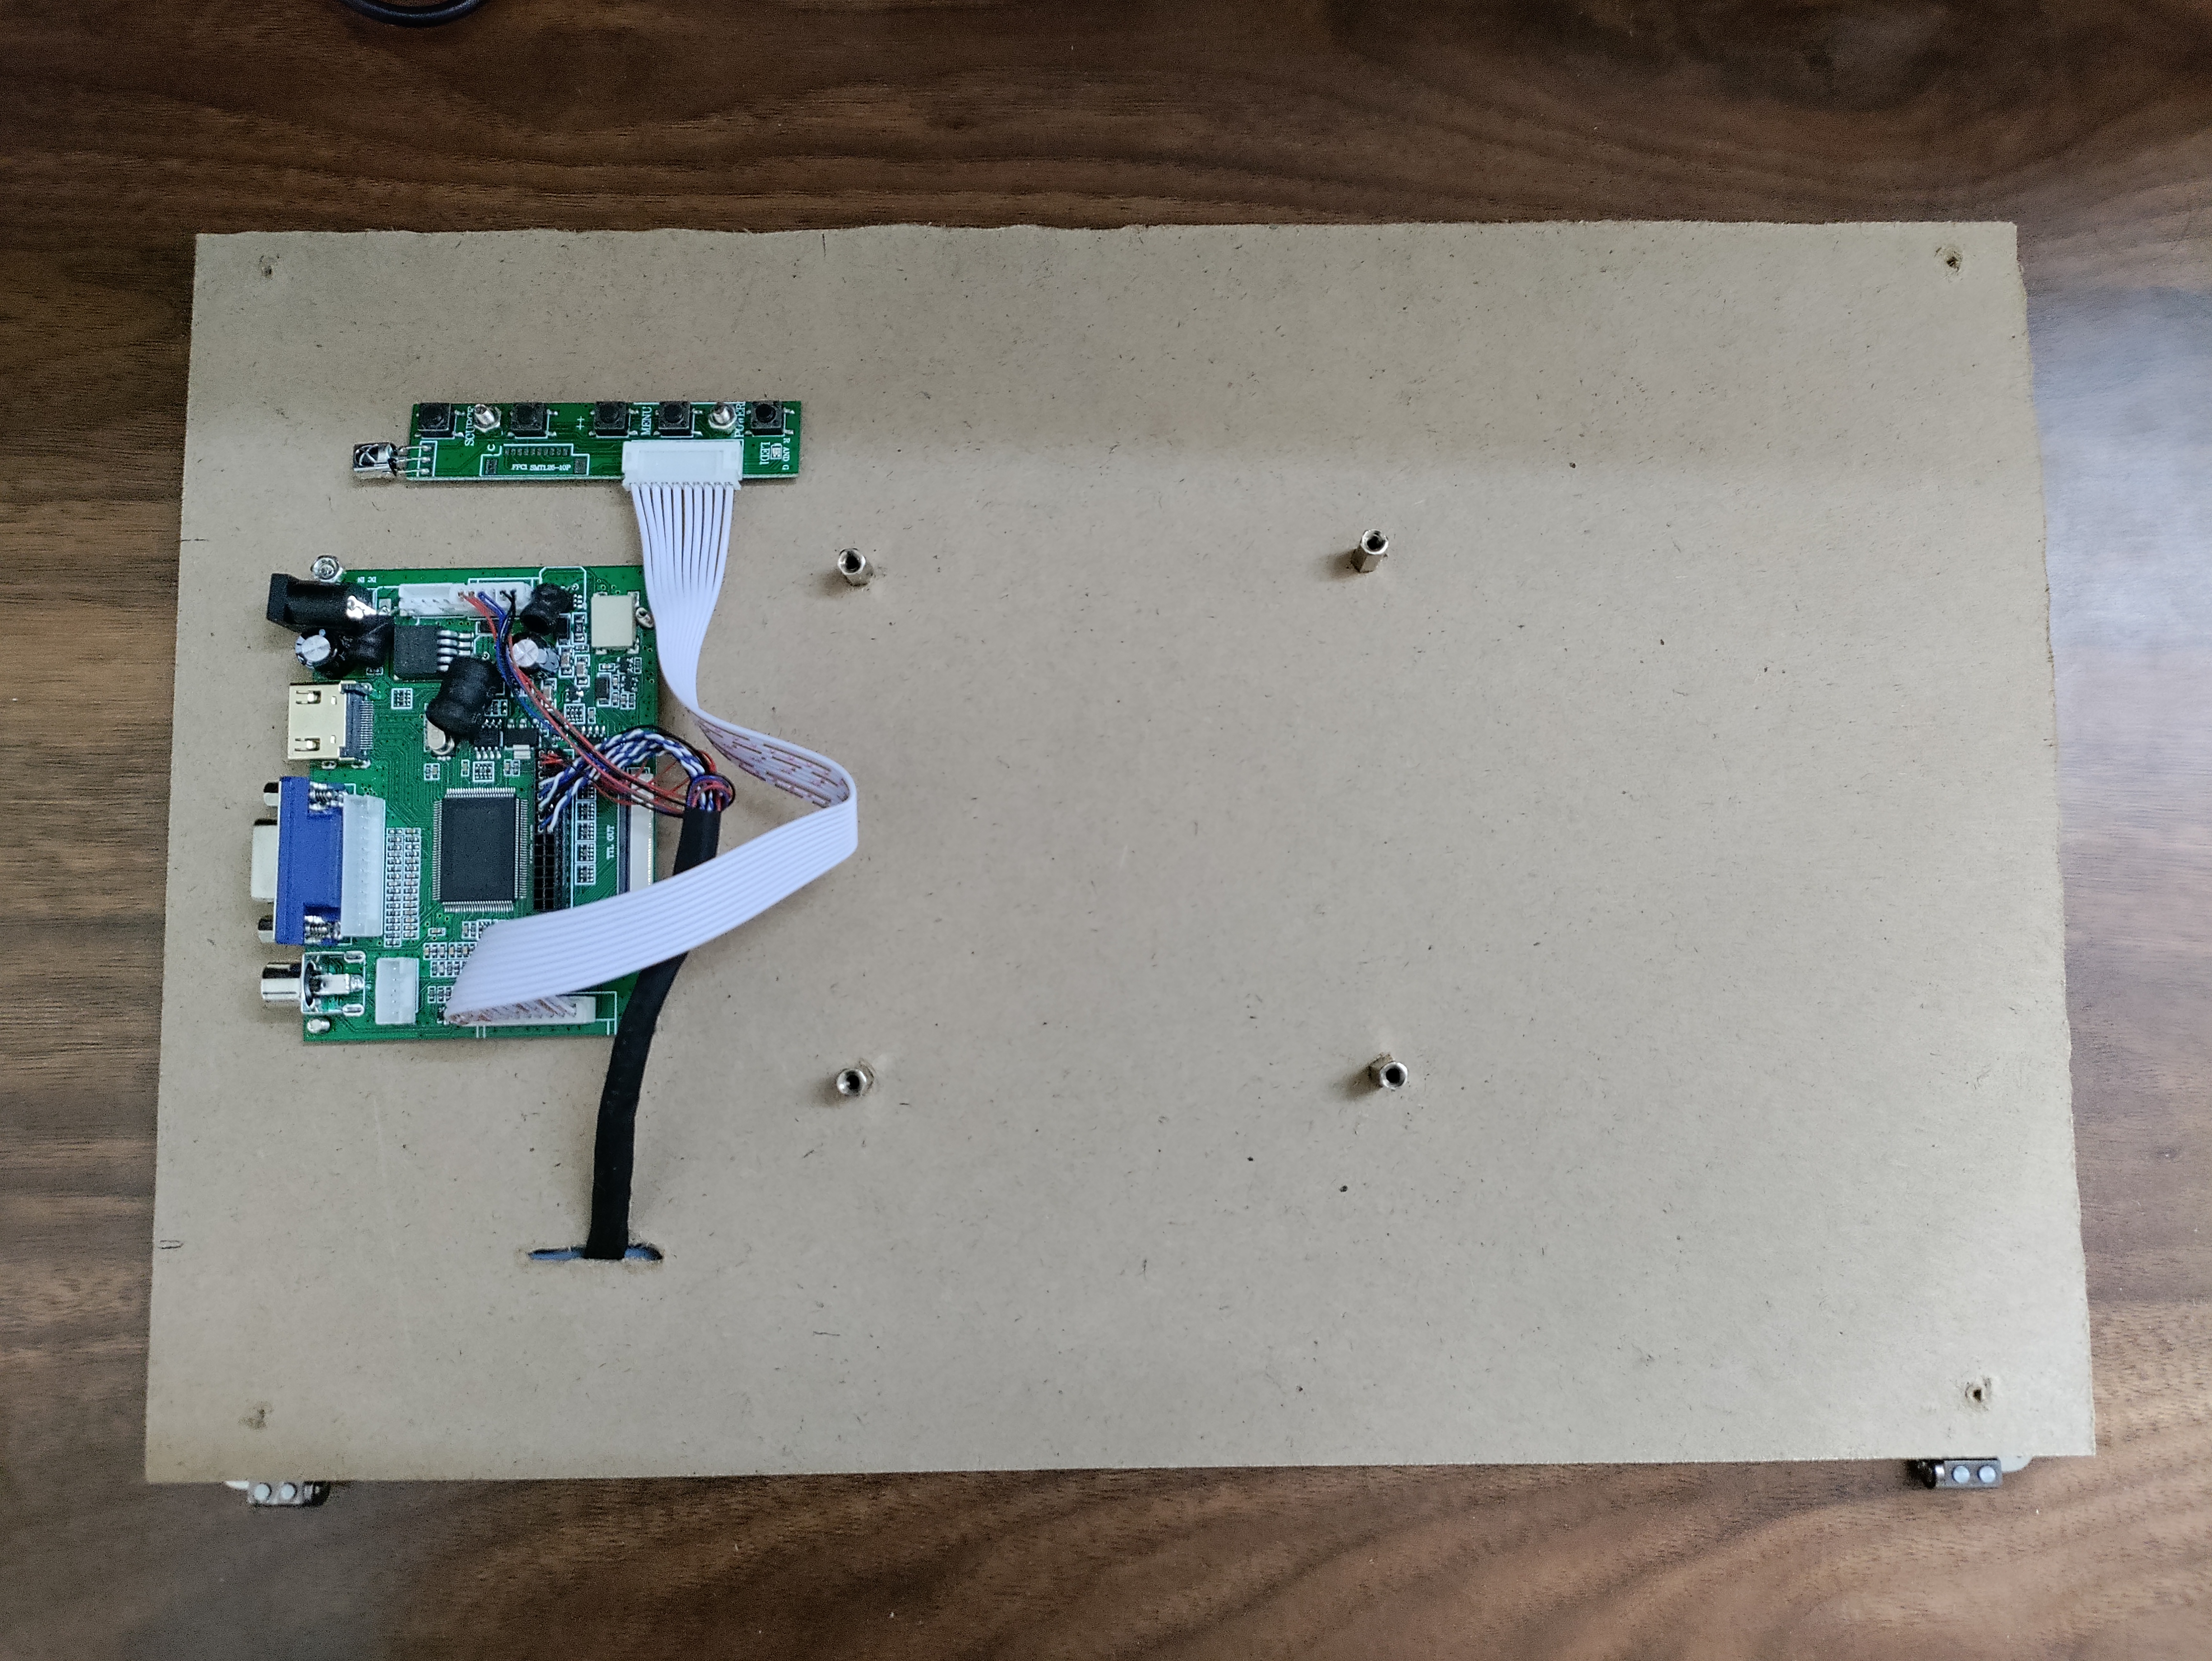
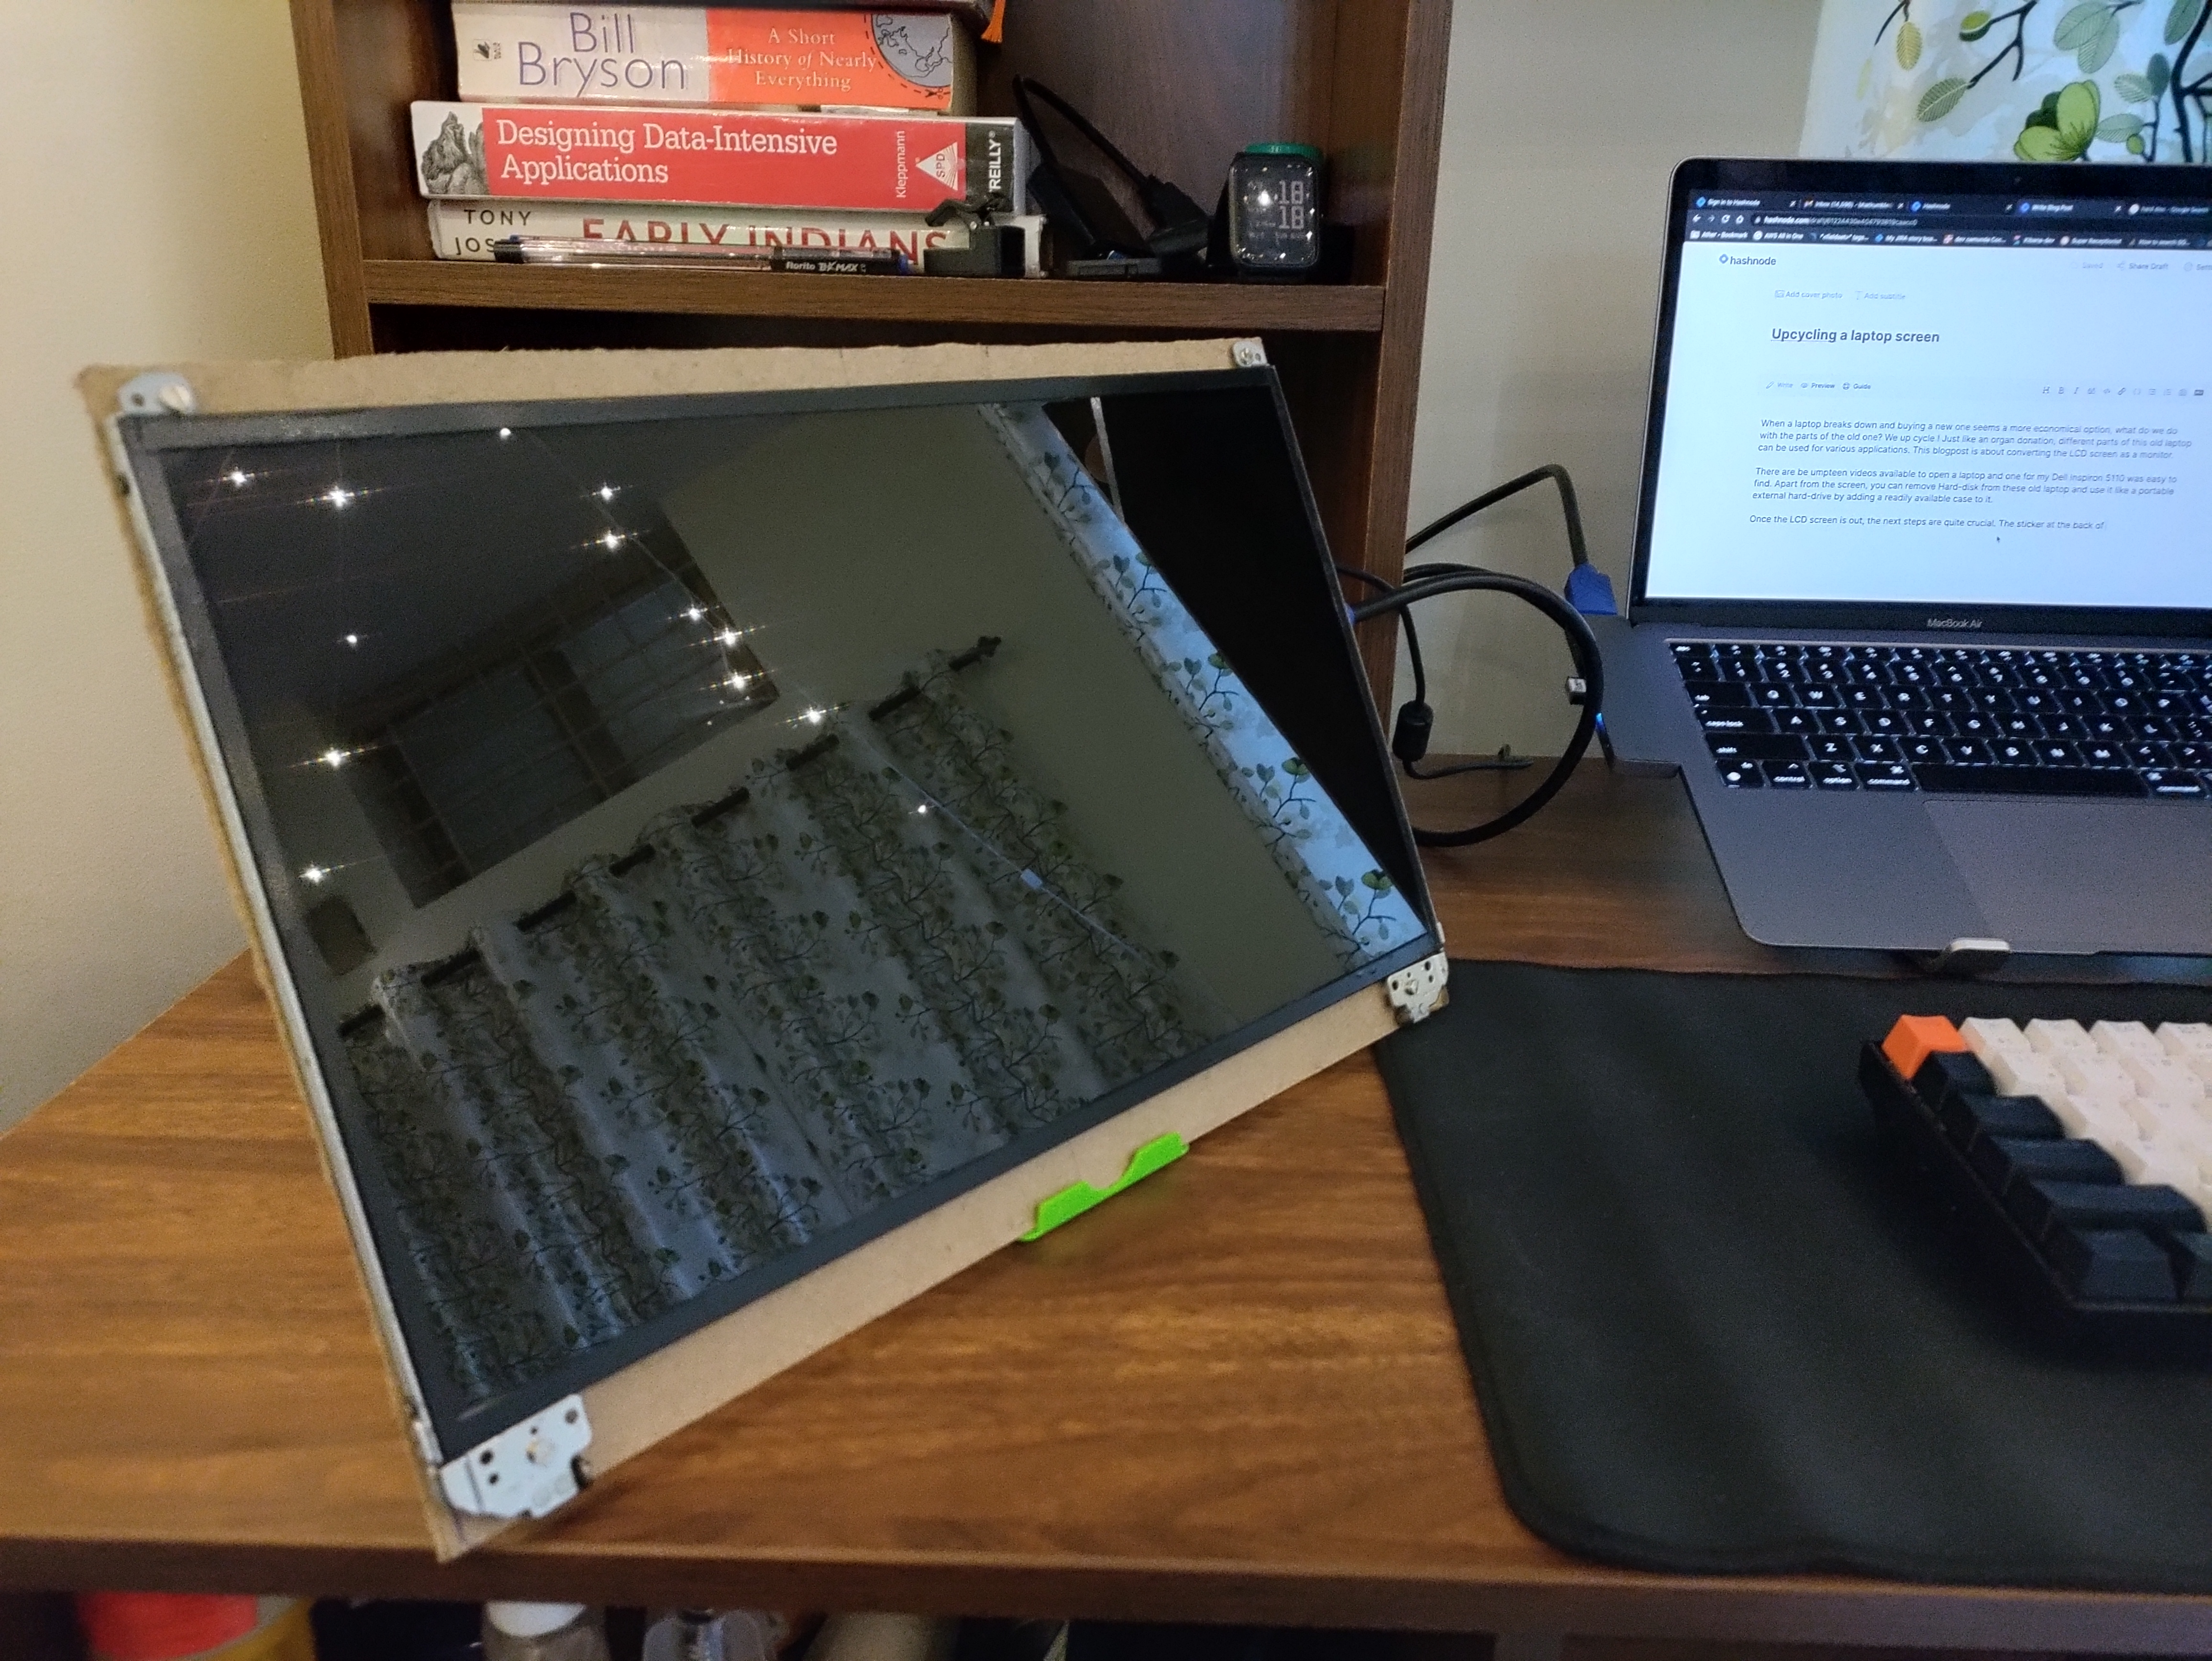
Some basic mounting placement plan, handful of M3 nuts and bolts, a drilling machine were all it took to assemble the pieces together. Added 100x100 mm spaced-apart spacers to accommodate for the VESA mount. Before the screen was assembled, I covered the metal edges with black electric insulation tape which gave the screen a premium feel. Fixed everything up and voila! the screen was alive.
BoM
| Item | Cost (INR) |
| LCD screen | free (you revived it) |
| LCD driver | ~3500 |
| 12V 3A adapter | 1000 |
| coin-cell for driver remote | 40 (optional) |
| cardboard | 60 |
| Nuts, bolts and spacers | 100 |
| DIY learnings | priceless :) |